Smart TV Installation Guide
Professional guidance for physical TV setup, mounting, and connectivity.
Safety First
- Ensure the TV is off and unplugged during installation
- Have at least 2 people for wall mounting to prevent accidents
- Follow all manufacturer safety instructions
- Use proper tools and mounting hardware rated for your TV weight
- Keep children and pets away during installation
1
Before You Begin - Equipment Needed
Gather these items before starting installation:
TV Stand or Wall Mount (appropriate for TV size)
Mounting hardware & screws (per manufacturer specs)
Power cable with 3-prong grounded outlet
HDMI cables for external devices
Ethernet cable (optional, for wired internet)
Remote with fresh batteries
Level tool (for wall mounting)
Stud finder (for wall mounting)
Appropriate drill bits & screwdriver set
Cable management clips or ties
2
Stand Setup (Tabletop Installation)
- Place your TV on its back on a soft, clean surface to prevent scratches
- Locate the stand attachment points on the back of the TV
- Align the stand legs with the attachment holes
- Insert screws into each attachment point and tighten securely
- Use a level to ensure the TV is perfectly horizontal
- Carefully flip the TV upright on your TV stand or furniture
Stand Placement Tips:
- Place on a sturdy, level piece of furniture
- Ensure at least 4 inches of space on all sides for ventilation
- Keep away from heat sources, moisture, and direct sunlight
- Position at comfortable eye level when seated
3
Wall Mounting Installation
For wall mounting, follow these steps:
- Locate wall studs: Use a stud finder to locate studs in the wall where you want to mount the TV
- Mark installation height: Measure and mark where the mounting bracket will attach. Eye level when sitting is usually ideal
- Install mounting bracket: Drill pilot holes into the studs, then secure the wall bracket using lag bolts rated for your TV weight
- Attach TV to bracket: Follow the mounting bracket instructions to securely attach your TV
- Verify installation: Check that the TV is level and secure. Gently push the TV to ensure it doesn't move
- Hide cables: Use wall-safe adhesive clips or conduit to route cables along the wall
Important Considerations:
- Always mount into wall studs - drywall alone cannot support TV weight
- Use mounting hardware rated for your specific TV weight and size
- Have a professional install if unsure about your wall type or structural integrity
- Never drill into walls where electrical wires or plumbing may be located
4
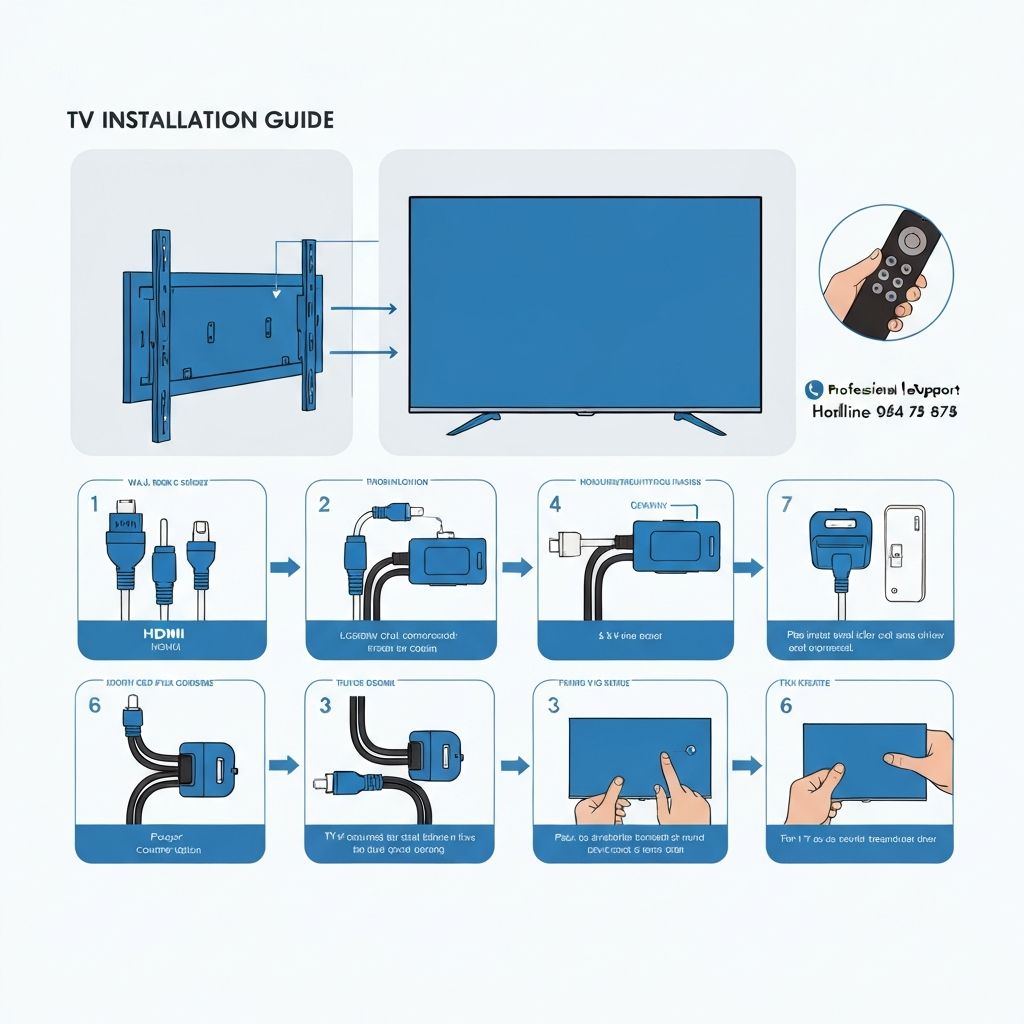
Cable Connections & Inputs
Main Connections:
HDMI Cables
Connect external devices (cable box, gaming console, blu-ray player). Use High-Speed HDMI cables for best quality.
Power Cable
Connect to a properly grounded outlet. Use a surge protector for added protection.
Ethernet Cable (Optional)
For wired internet connection, provides more stable connectivity than WiFi.
Audio Output
Connect to external speakers or sound system if desired.
Cable Management Tips:
- Use cable clips to bundle wires together neatly
- Route cables behind the TV or along the wall
- Label cables for easy identification later
- Avoid sharp bends in cables
- Keep cables away from heat sources
5
Remote Setup & Pairing
- Remove the battery compartment cover on the remote
- Insert new batteries (usually AA or AAA) - check the remote for correct orientation
- Replace the battery cover securely
- Some remotes require pairing - follow on-screen instructions if prompted
- Test all buttons to ensure they're functioning properly
Remote Troubleshooting:
- Replace batteries with fresh ones if remote isn't responding
- Remove any plastic protective covers from the remote
- Check that there are no obstructions between remote and TV
- Try pointing the remote directly at the TV receiver
6
Ventilation & Environmental Considerations
Proper ventilation is critical for your TV's longevity:
Good Practices:
- Maintain 4+ inches clearance on all sides
- Allow 6+ inches above the TV
- Ensure proper air circulation
- Avoid enclosed spaces without ventilation
Avoid These:
- Placing in direct sunlight
- Installing near heat sources
- Humid environments
- Extreme temperatures (too hot or cold)